
11. Bootstrapping Rango
In this chapter, we will be styling Rango using the Twitter Bootstrap 2.3.2 toolkit. We won’t go into the details about how Bootstrap works, and we will be assuming you have some familiarity with CSS. If you don’t, check out the CSS chapter so that you understand the basics and then check out some Bootstrap tutorials. However, you should be able to go through this section and piece things together.
To get started take a look at the Bootstrap 2.3.2 website - it provides you with sample code and examples of the different components and how to style them by added in the appropriate style tags, etc. On the Bootstrap website they provide a number of example layouts which we can base our design on.
To style Rango we have identified that the fluid style more or less meets our needs in terms of the layout of Rango, i.e. it has a menu bar at the top, a side bar (which we will use to show categories) and a main content pane.
11.1. Setting up The Base Template
Before we can set up the base template to use this style we need to download Bootstrap, JQuery and the Fluid Template.
11.1.1. Download Bootstrap
Go to the Bootstrap 2.3.2 website and download the toolkit. When you unzip the files you will see that in the directory you have a imgs, js and css directory plus associated files. Copy the three subdirectories in Rango’s static folder so that you will be able to reference them via the URL /static/imgs, /static/js/ and /static/css/.
11.1.2. Download JQuery
Now go to the JQuery website and download the latest 2.x version of JQuery. Put the js file in to the static/js/ directory.
11.1.3. Including CSS/JS in The Base Template
If you download or look at the source for http://getbootstrap.com/2.3.2/examples/fluid.html, you’ll notice that in the <head> section there is some additional <style> code. Copy the CSS inside these style tags and create a new CSS file in /static/css/ called bootstrap-fluid-adj.css. Your code should look similar to the example shown below.
body {
padding-top: 60px;
padding-bottom: 40px;
}

.sidebar-nav {
padding: 9px 0;
}

@media (max-width: 980px) {
    /* Enable use of floated navbar text */
    .navbar-text.pull-right {
    float: none;
    padding-left: 5px;
    padding-right: 5px;
    }
}
By adding it to a file we can minimize the code in our template. Now update the <head> section of base.html as follows.
<!DOCTYPE html>
{% load static %}
<html>
<head>
    <meta name="viewport" content="width=device-width, initial-scale=1.0">
    <!-- Bootstrap -->
    <link href="{% static 'css/bootstrap-fluid-adj.css' %}" rel="stylesheet">
    <link href="{% static 'css/bootstrap.min.css' %}" rel="stylesheet" media="screen">
    <link href="{% static 'css/bootstrap-responsive.css' %}" rel="stylesheet">

    <title>Rango - {% block title %}How to Tango with Django!{% endblock %}</title>
</head>
Note how we are including all these files by externally linking them in. We will also need to include the JQuery and Bootstrap JavaScript files. Instead of adding them to the <head> section, we will add them at the bottom of base.html just before we close the <body> tag, just like in the example below.
    <script src="{% static 'js/jquery-2.0.3.min.js' %}"></script>
    <script src="{% static 'js/bootstrap.min.js' %}"></script>
</body>
</html>
The reason to add them here is so that the page can load up faster. The browser concentrates on rendering the elements of the webpage, and once this has been completed, the JavaScript files are loaded.
11.1.4. Structuring the Base Template
If you take a close look at the fluid html source, you’ll notice it has a lot of structure in it created by a series of <div> tags. Essentially the page is broken into three parts - the top navigation bar, the main pane (houses the side bar and the main content pane), and a footer.
In the body of base put in the navigation bar code, just like in the example below.
<div class="navbar navbar-inverse navbar-fixed-top">
   <div class="navbar-inner">
       <div class="container">
           <button type="button" class="btn btn-navbar" data-toggle="collapse" data-target=".nav-collapse">
               <span class="icon-bar"></span>
               <span class="icon-bar"></span>
               <span class="icon-bar"></span>
           </button>
           <a class="brand" href="/rango/">Rango</a>

           <div class="nav-collapse collapse">
               <ul class="nav pull-right">
                   {% if user.is_authenticated %}
                    <li class="navbar-text">Welcome, {{ user.username }}!</li>
                    <li><a href="/rango/logout/">Logout</a></li>
                   {% else %}
                    <li><a href="/rango/register/">Register</a></li>
                    <li><a href="/rango/login/">Login</a></li>
                   {% endif %}
               </ul>
               <ul class="nav">
                   {% if user.is_authenticated %}
                    <li><a href="/rango/restricted/">Restricted</a></li>
                    <li><a href="/rango/add_category/">Add Category</a></li>
                   {% endif %}
                   <li><a href="/rango/about/">About</a></li>
               </ul>
           </div>
           <!--/.nav-collapse -->
       </div>
   </div>
</div>
After this, you can add in the next <div> which will house the side bar navigation and the main content pane:
<div class="container-fluid">
    <div class="row-fluid">
        <div class="span3">
            <div class="well sidebar-nav">
                <!--- Empty for the timebeing -->
            </div>
            <!--/.well -->
        </div>
        <!--/span-->
        <div class="span9">
            {% block body_block %}
            {% endblock %}
        </div>
        <!--/span-->
    </div>
    <!--/row-->
</div>
<!--/.fluid-container-->

<hr>
You can see that we have included the body_block in here. And now finally, below this add in a footer:
<footer>
<div class="container">
<p>© Rango: How to Tango with Django 2013</p>
</div>
</footer>
11.2. Quick Style Change
Now that we have the base.html all set up and ready to go, we can do a really quick face light to Rango by adding <div class="hero-unit"> around the contents within each body_block on each page. For example, convert the body_block of the about.html template to be:
{% block body_block %}
<div class="hero-unit">
    <h1>About Rango</h1>
    This is <strong>Rango's about page</strong>.<br />

    You've visited the site on <strong>{{ visit_count }} occasion(s)</strong>.<br />

    Here's a picture of Rango!<br />
    <img src="{% static 'rango.jpg' %}" alt="Picture of Rango" />
</div>
{% endblock %}

Figure 1: A screenshot of the About page without style.

Figure 2: A screenshot of the About page with Bootstrap Styling applied.
With all pages fitted with hero-unit <div> tags Rango should be looking pretty good. However, you will notice that some of the pages still look pretty ugly, especially the pages with forms (see the figure below). Later in this chapter we will update these forms.
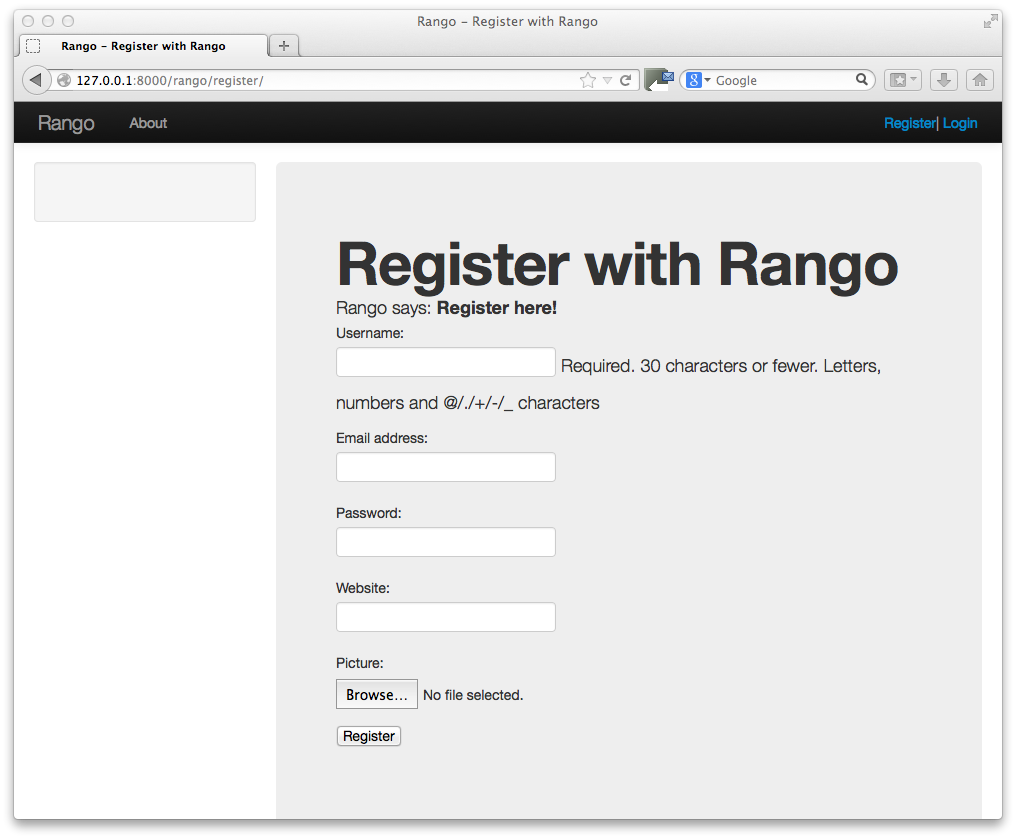
Figure 3: A screenshot of the Registration page with Bootstrap Styling applied but not customised.
Also, you’ll probably have noticed the sidebar is empty. In the next chapter we will sort that out with some handy navigation links.
11.2.1. The Index Page
Since we have only encapsulated the content into a hero unit <div>, we haven’t really capitalised on the classes and styling that Bootstrap gives us. So here we have taken the columns from the fluid page and used them to house the top categories and top pages. Since the original page has three columns, we have taken two and made them slightly better by adjusting the class so that the <span> is 6 for each instead of 4, so we can update the index.html template to look like the following.
{% block body_block %}
<div class="hero-unit">
    <h1>Ready to Rango</h1>
    <p>Find, Add, Share and Rango useful links and resources.</p>
</div>

<div class="row-fluid">
    <div class="span6">
        <h2>Top Five Categories</h2>
        {% if categories %}
        <ul>
            {% for category in categories %}
            <li><a href="/rango/category/{{ category.url }}">{{ category.name }}</a></li>
            {% endfor %}
        </ul>
        {% else %}
        <strong>No categories at present.</strong>
        {% endif %}

    </div>
    <!--/span-->
    <div class="span6">
        <h2>Top Five Pages</h2>
        {% if pages %}
        <ul>
            {% for page in pages %}
            <li><a href="{{ page.url}}">{{ page.title }}</a> - {{ page.category }} ({{ page.views }} view(s))</li>
            {% endfor %}
        </ul>
        {% else %}
        <strong>No pages at present.</strong>
        {% endif %}

    </div>
    <!--/span-->
</div>
<!--/row-->
{% endblock %}
The page should look a lot better now.
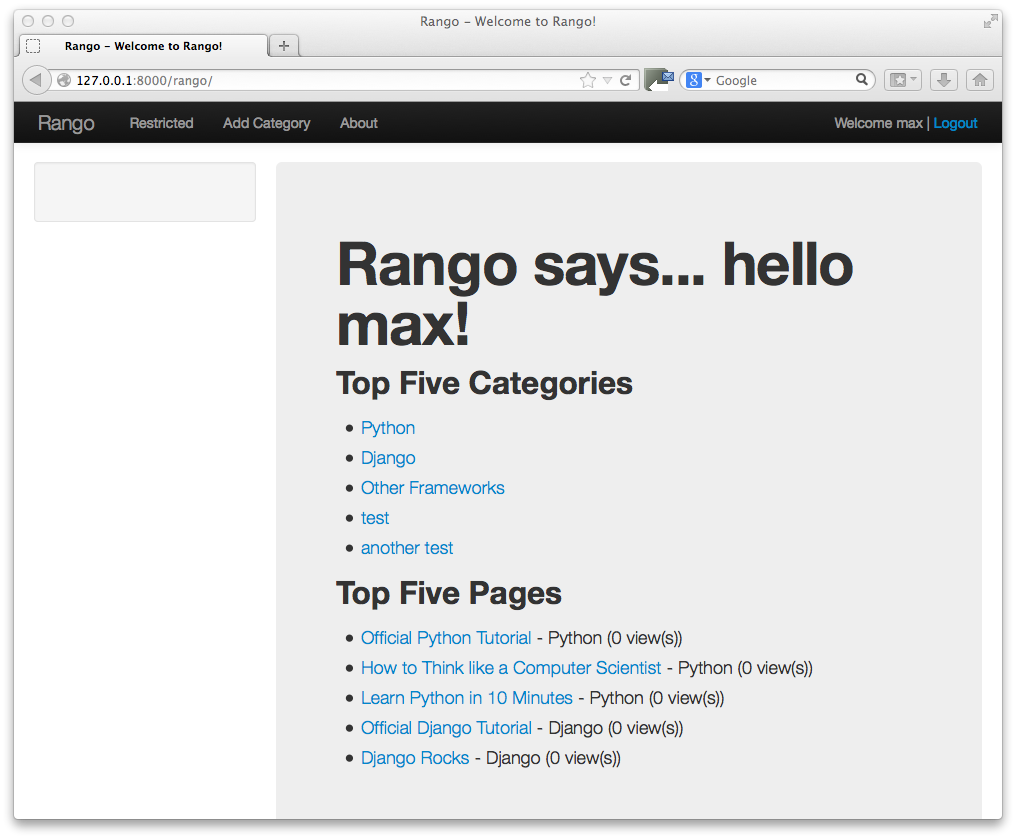
Figure 4: A screenshot of the Index page with a Hero Unit.
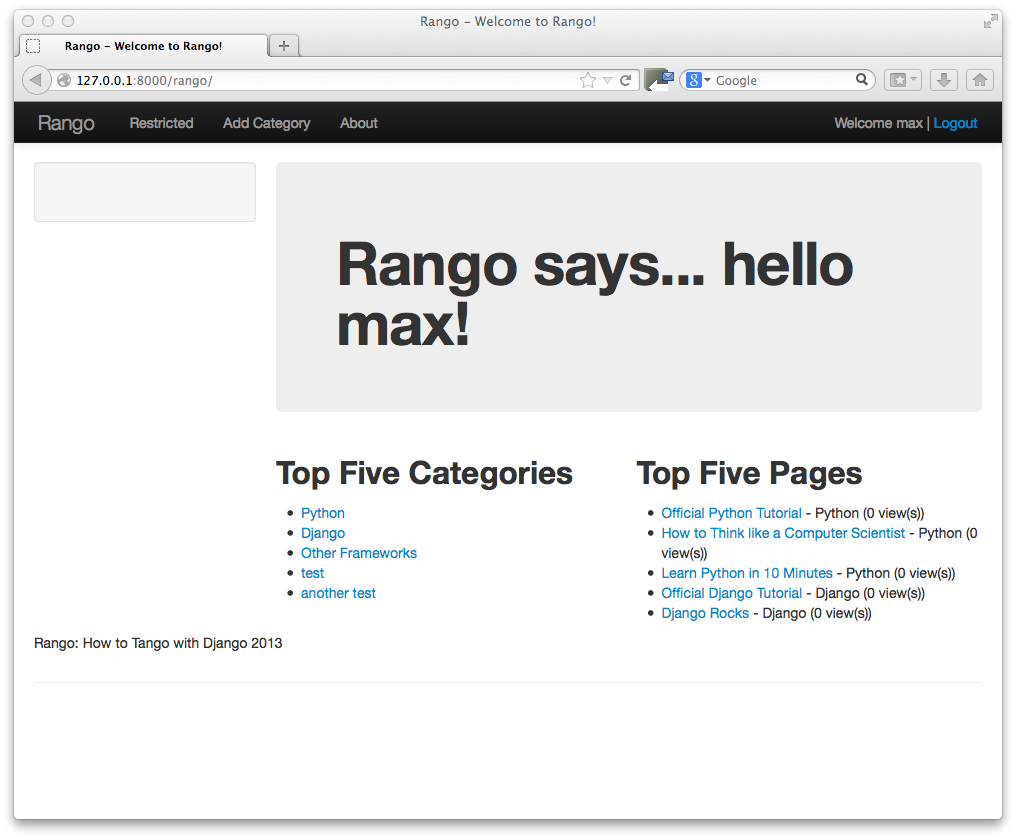
Figure 5: A screenshot of the Index page with customised Bootstrap Styling.
11.3. The Login Page
Now let’s turn our attention to the login page. On the Bootstrap website you can see they have already made a nice login form, see http://getbootstrap.com/2.3.2/examples/signin.html. If you take a look at the source, you’ll notice that there are a number of classes that we need to include to pimp out the basic login form.
Update the login.html template as follows:
{% block body_block %}
<div class="hero-unit">
    <h1>Login to Rango</h1>

    <div class="container">
    <form class="form-signin span4" id="login_form" method="post" action="/rango/login/">
        <h2 class="form-signin-heading">Please sign in</h2>
        {% csrf_token %}

        {% if bad_details %}
        <p><strong>Your username and/or password were incorrect!</strong></p>
        {% elif disabled_account %}
        <p><strong>Your Rango account is currently disabled; we can't log you in!</strong></p>
        {% endif %}

        Username: <input type="text" class="input-block-level" placeholder="Username" name="username" value="" size="50" />
        <br />
        Password: <input type="password" class="input-block-level" placeholder="Password" name="password" value="" size="50" />
        <br />
        <button class="btn btn-primary" type="submit">Sign in</button>
    </form>

    </div>
    <!-- /container -->
</div>
{% endblock %}
We’ve made the following changes.
form-signinandspan4classes has been added to the form;form-sigin-headingclass as been put in the <h2> tag to head up the form;- the input elements have had
input-block-levelclasses added which control their width, along with placeholder text; and - then the input element has been changed for a button element.
In the button, we have set the class to btn and btn-primary. If you check out the Bootstrap toolkit page on Base CSS you can see there are lots of different colours that can be assigned to buttons, see http://getbootstrap.com/2.3.2/base-css.html#buttons.
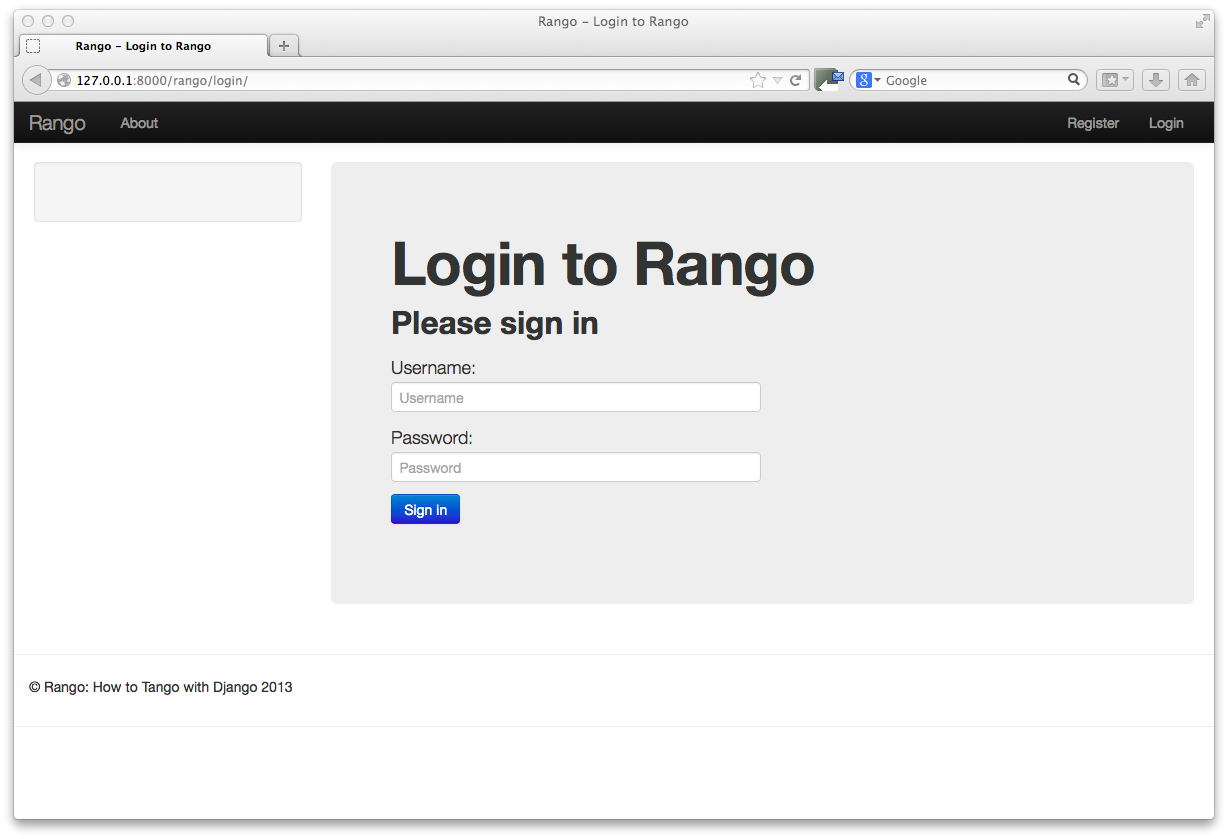
Figure 6: A screenshot of the login page with customised Bootstrap Styling.
11.3.1. Other Form-based Templates
You can apply similar changes to add_category.html and add_page.html templates. For the add_category.html template, we can set it up as follows.
{% block body_block %}
<div class="hero-unit">
    <h1>Add a Category</h1>
    <br/>
    <div class="container">
        <form class="span6" id="category_form" method="post" action="/rango/add_category/">
            {% csrf_token %}
            {% for hidden in form.hidden_fields %}
            {{ hidden }}
            {% endfor %}

            {% for field in form.visible_fields %}
            {{ field.errors }}
            {{ field.help_text }}<br/>
            {{ field }}
            {% endfor %}

            <br/>
            <button class="btn btn-primary" type="submit" name="submit">Create Category</button>
        </form>
    </div>
</div>
{% endblock %}
And similarly for the add_page.html template (not shown).
11.4. The Registration Template
The register.html template requires a bit more work. Currently, the template uses Django helper methods to convert the UserForm and UserProfileForm into HTML. However, we want a bit more control over the elements and how they are presented. This will require updating the UserForm and UserProfileForm as well as the register.html template.
Update the forms.py as follows.
class UserForm(forms.ModelForm):
    username = forms.CharField(help_text="Please enter a username.")
    email = forms.CharField(help_text="Please enter your email.")
    password = forms.CharField(widget=forms.PasswordInput(), help_text="Please enter a password.")

    class Meta:
        model = User
        fields = ['username', 'email', 'password']

class UserProfileForm(forms.ModelForm):
    website = forms.URLField(help_text="Please enter your website.", required=False)
    picture = forms.ImageField(help_text="Select a profile image to upload.", required=False)

    class Meta:
        model = UserProfile
        fields = ['website', 'picture']
Update the register.html template as follows.
{% block body_block %}
<div class="hero-unit">
    <h1>Register with Rango</h1>
    <br />

    <div class="container">
        {% if registered %}
        <p>Thank you for registering.</p>

        <p><a href="/rango/login/">Login</a> when you are ready to rango.</p>
        {% else %}
        <form class="form-signin span8" id="user_form" method="post" action="/rango/register/"
              enctype="multipart/form-data">
            {% csrf_token %}
            <h2 class="form-signin-heading">Sign up Here</h2>
            <!-- Display each form here -->

            {% for field in user_form.visible_fields %}
            {{ field.errors }}
            {{ field.help_text }}<br />
            {{ field }}<br />
            {% endfor %}

            {% for field in profile_form.visible_fields %}
            {{ field.errors }}
            {{ field.help_text }}<br />
            {{ field }}<br />
            {% endfor %}

            <br />
            <!-- Provide a button to click to submit the form. -->
            <input class="btn btn-primary" type="submit" name="submit" value="Register"/>
        </form>
        {% endif %}
    </div>
</div>
{% endblock %}
Your registration form should be looking a lot better now and something like the figure below.
11.5. The End Result
Now that Rango is starting to look better we can go back and add in the extra functionality that will really pull the application together.

Figure 7: A screenshot of the Registration page with customised Bootstrap Styling.